Growing Native Thistles

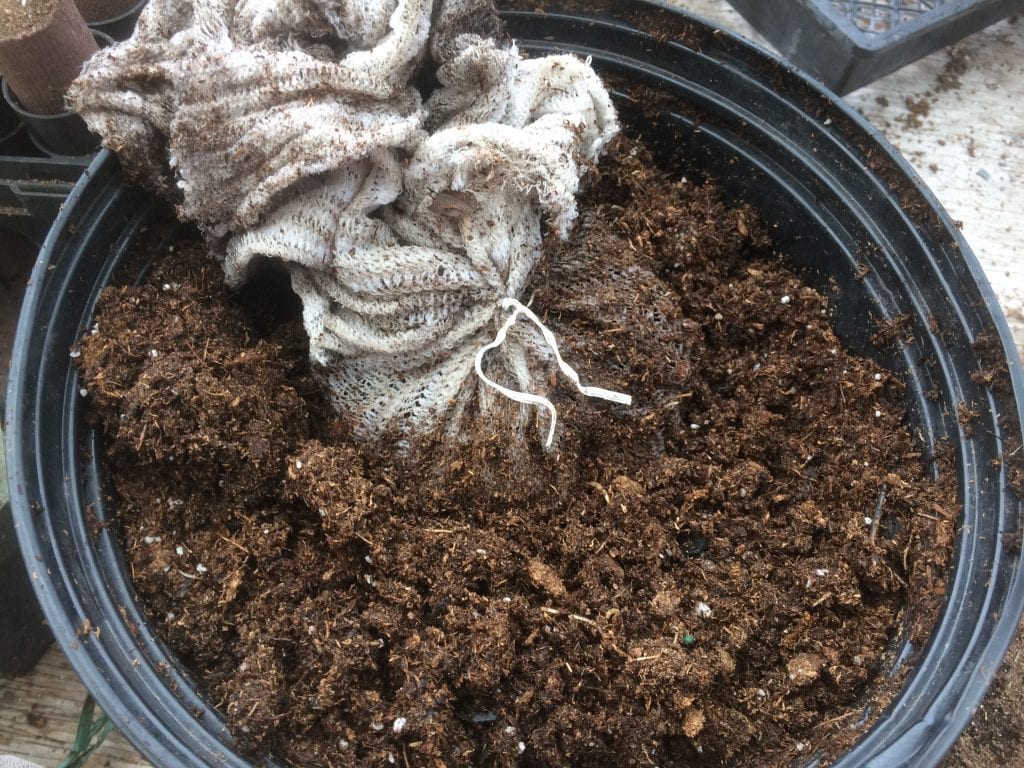
Western thistle seed 
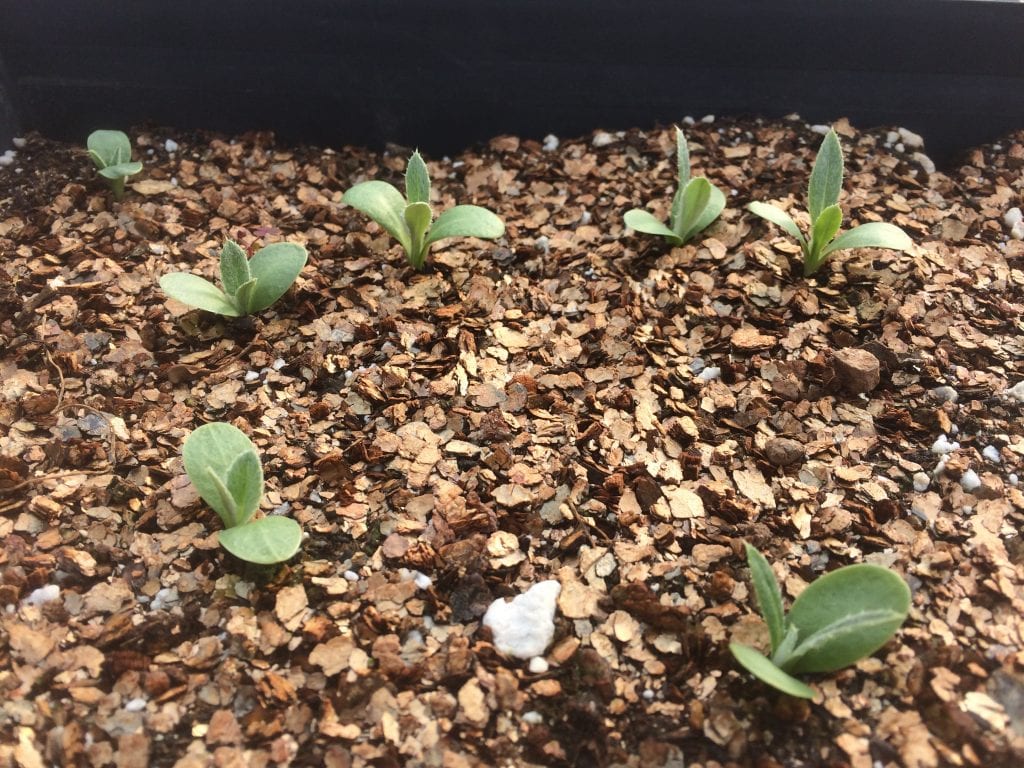
Western thistle seedling 
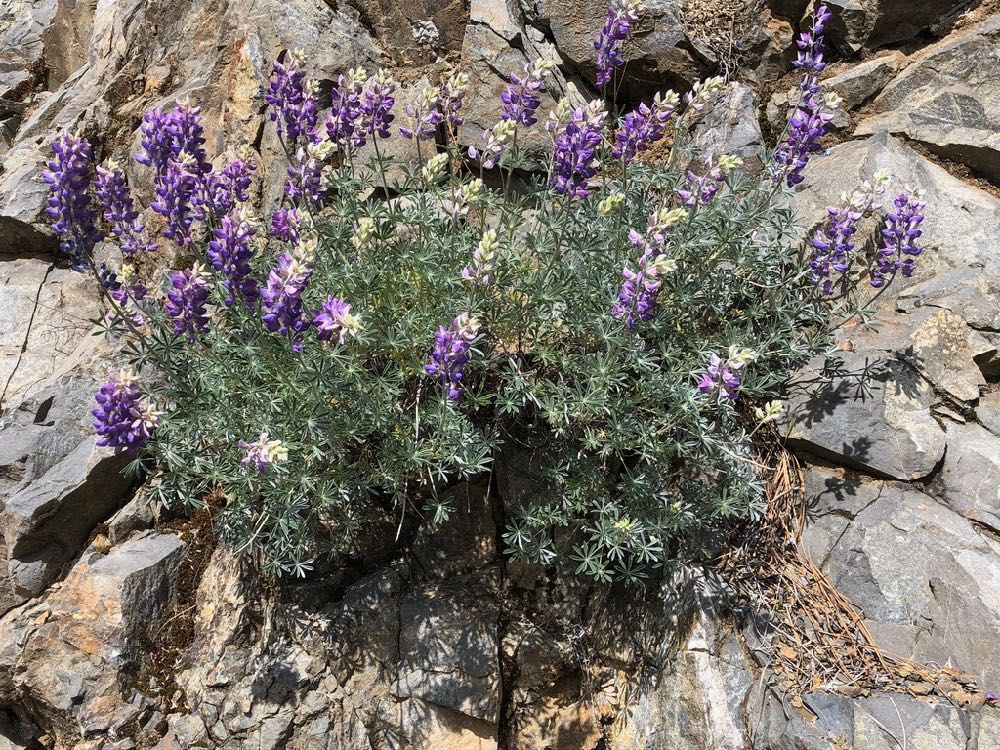
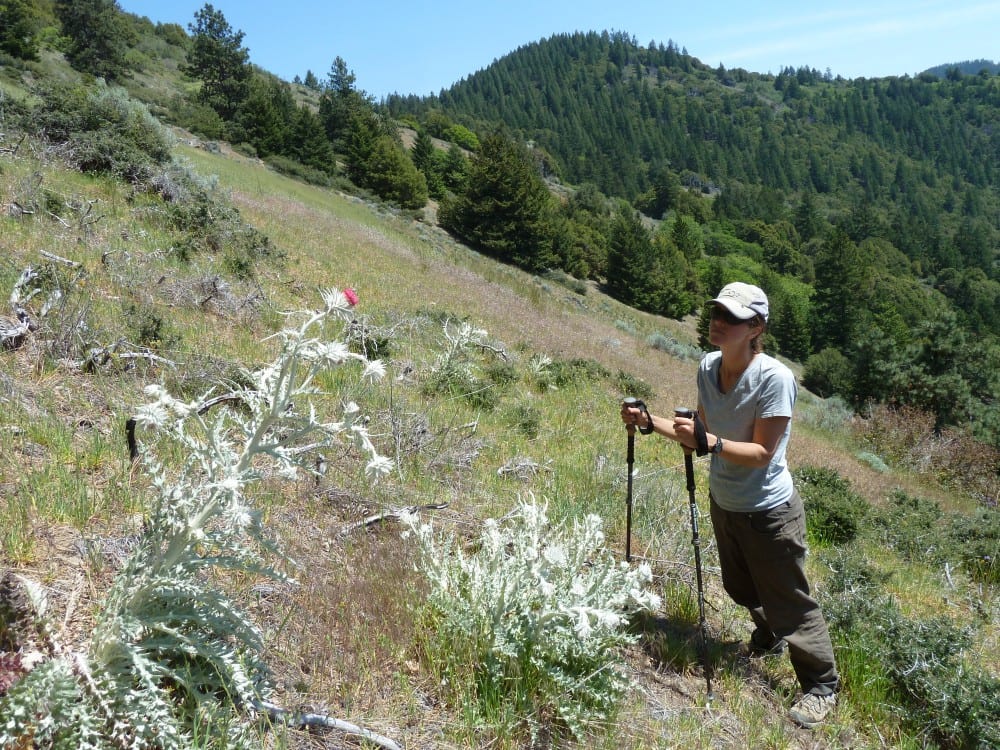
Western thistle in the Siskiyou Mountains
The Importance of Native Thistles

Despite their eye-catching beauty and value for pollinators and birds, native thistle species have long been undervalued and underutilized in native plant gardens and habitat restoration projects. Many people either don’t know there are native thistles, and/or they have a bad association with thistles because of the numerous highly invasive species of thistles. However, native thistles are highly important components of native plant communities and play important roles in native ecosystems; therefore, appropriate native thistle species should be considered for inclusion in various native planting or seeding projects.
Nutritious thistle seeds are highly prized by birds such as the Lesser or American goldfinch. According to the Oregon Department of Fish and Wildlife, “Their diet is composed almost entirely of seeds, with those of the sunflower family, particularly thistles, strongly preferred.” Birds also use the fluffy thistle chaff to line their nests.
The list of butterfly species that use native thistles for nectar is too numerous to list here. It is common to see butterflies nectaring on native thistles in the wild. Several butterfly species use native thistles as a larval host plant, including, Painted lady (Vanessa cardui), Mylitta crescent (Phyciodes mylitta), and the California crescent (Phyciodes orseis).

Hummingbirds are especially fond of thistle nectar. It is not unusual to find many hummingbirds competing for the nectar of Western thistle (Cirsium occidentale) flowers in the wild. Hummingbirds will often spend a considerable amount of time around a thistle patch, sipping nectar in between their aerial acrobatics. Additionally, native bees, pollinating flies, beetles, moths, and wasps also forage on and pollinate native thistles. Native thistles support and increase biodiversity!
Native thistles are adapted to grow in many different habitat types, from deserts to wetlands, and low elevation to high elevation. There are approximately 62 species of native thistles in the genus Cirsium in North America. For more detailed information about the ecological importance and cultivation of native thistles throughout North America, with an emphasis on species found in the eastern part of the United States, check out the Xerces Society‘s 92-page native thistles conservation guide: Native Thistles: A Conservation Practitioner’s Guide.


Although there are at least eleven or more thistle species, with many varieties, native to the Klamath-Siskiyou region, we will use the showy and beautiful red-flowered Western thistle (Cirsium occidentale) as our example of how to grow native thistles for this guide. Western thistle is native to California, Oregon and Nevada. It has many additional common names, including snowy thistle, cobweb thistle, or cobwebby thistle. There are also many varieties of the species. The common names are due to the appearance of the spines of the flowers which are laced in fibers resembling cobwebs or snow.
In the wild, Western thistle is adaptable to various soil types, but is generally found growing on poor soil with good drainage and full sun, in open grassland, chaparral, or rocky areas in various habitat types where there is little surrounding competition from other plants. It is a biennial to short-lived perennial plant that forms a rosette the first year(s), flowering the second year before producing seed and dying out. In drought years or on particularly harsh sites it may just remain a rosette for several years and take multiple years to flower. Most species in the genus Cirsium are monocarpic — they flower only one time and then die.
When in flower the height of Western thistle may vary from 1′-6′ tall. Smaller plants may just have a single stalk and flower, but larger plants may have many branches and many flowers.
Thistles are in the sunflower family (Asteraceae), with many individual flowers packed within each flower head, protected by a spiny involucre. Like a sunflower, each flower produces a single seed, and each seed head produces many seeds.
Western thistle is deer resistant and drought tolerant, making it ideal for dry areas with heavy deer pressure. That being said, as we have mentioned, native thistles are used as larval host plants by numerous butterfly species, and sometimes the caterpillars can eat a plant to the point that resembles deer browse. Native thistles have co-evolved with our pollinators and are adapted to caterpillar browse. Native thistles are never aggressive and won’t spread rapidly like their non-native and invasive relatives.
Growing Native Thistles from Seed
Western Thistle Seed Germination
The most basic rule of thumb for growing Western thistle from seed is to sow the seed outside in fall to early winter.
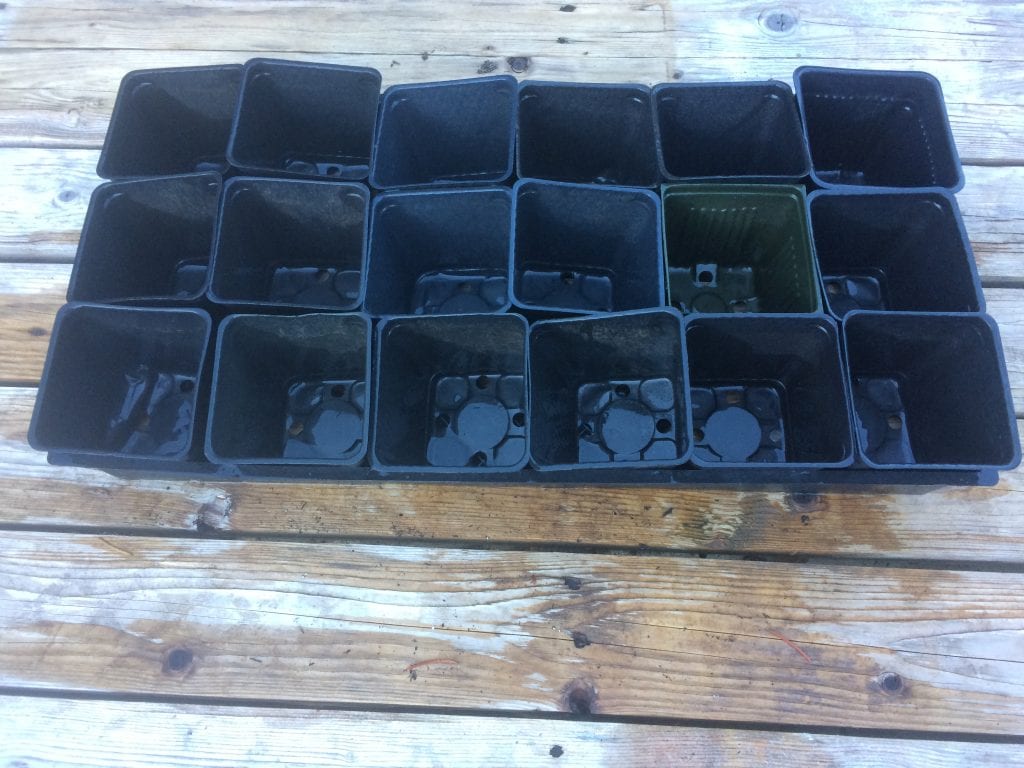
In the nursery setting, sow Western thistle seeds in seed trays or flats to upsize later, or directly sow into deeper containers such as tubes, deeppots, mini tree pots, or band pots etc. Thistles are fast growing in the nursery setting and have rapid root growth. Out-plant the seedlings in their first year of growth, either in early spring or fall. Use a soil mixture with good drainage, with extra perlite, vermiculite or pumice.
Our understanding of what specific cold-moist stratification requirements Western thistle seed needs has evolved over time. With years of growing Western thistle from seed, observations of seed germination patterns in the wild, and input from other growers — including people who have bought seed from us — we have come to realize that seed germination of Western thistle is quite variable.
Most sources of information suggest that native thistle seed needs “winterization” or cold-moist stratification to germinate, with a basic recommendation of 60-90 days exposure to cold-moist conditions. In the past we have always sown our seed in the fall, the seed overwintered, and we achieved seed germination in early spring. However, our recent experience has shown that fresh Western thistle seed may germinate in the fall in wet years with early fall rain. This year was one of those years! The early fall rain in the Klamath-Siskiyou region this year led to abundant germination of Western thistle seed in wild populations we visited in October-November 2021. Our own patches of Western thistle on our own land, where we are growing this species for seed increase, also had fall germinating seeds. Additionally, seed we sowed into seed trays in October were observed to be germinating in early November, showing that fall germination of Western thistle seed is possible in years with abundant fall rain and ideal conditions. This may be able to be replicated in dry years as well, with irrigation in the garden or habitat restoration seeding projects. In most years in the Klamath-Siskiyou region fall weather can be quite dry and warm, but this year was different, showing how different conditions year to year can achieve different results with seed germination.
Remember that seeds are living organisms that may not always behave in the way you expect! That’s why experimentation is at the foundation of seed germination success!
It is clear to us that fresh Western thistle seed may not have “dormancy” that needs to be overcome with cold-moist stratification; however, if the seeds are sown in early winter and conditions are too cold to germinate, the seeds will just wait in the cold-moist winter conditions to germinate when the weather warms up in early spring. It is also possible that older seed that has been stored for a year or more may become more dormant and need 60-90 days of cold-moist stratification before it can germinate.
Our basic guidelines for Western thistle seed germination are as follows:
No pretreatment is required for fresh seed. Seed germination may be improved with 30 days cold-moist stratification. Sow outside in early fall to late winter. Seeds may germinate with early fall rain if sown in early fall. Stored seed may need 60-90 days cold-moist stratification.


We love getting feedback from our customers and clients regarding their own experiences with seed germination. Sometimes people have different results than we do, which can make seed germination protocols difficult to generalize for different regions of the country. Different methods can sometimes achieve the same results and vice versa. We feel it is important, however, to provide some basic seed germination information and short protocols to get people started with their own seed germination experimentation.
James H. in Eugene, Oregon emailed us the photos above of Western thistle (Cirsium occidentale) seed he purchased from us that germinated quickly after he sowed the seed in fall 2020. We appreciated getting James’ feedback and photos! After the early fall rain this fall in the Siskiyou Mountains, our experience was the same — fall germination of Western thistle.
As you can see from the photos, James uses cages to protect his seedlings. Cages are important to prevent seed predation by birds, squirrels, mice and other small mammals. Wire cages or bird netting is an easy solution to prevent sometimes major losses of seed and/or germinates to wildlife.
Let us know about your seed germination experiences! We love the feedback and dialogue about native seed germination, and as we keep learning more, we will add more to our Seed Germination and Propagation Reference Guide.
Direct Sowing Western Thistle Seed


Direct seeding of Western thistle also works really well. We have directly sown Western thistle seeds in many native seeding projects over the years, in various types of projects, from private land habitat restoration projects, to native plant demonstration gardens at vineyards, to upscale landscaping. We are excited to have Western thistle as part of the demonstration native plant garden we have established at Troon Vineyard in the Applegate Valley, and we hope to be sharing the results of the project this year with on-site tours and presentations.
On our own land here in the Siskiyou Mountains we have been growing Western thistle for more than fifteen years. Early on we would directly sow Western thistle seeds into burn pile sites we created after fuel reduction work in our land. We sowed Western thistle seed into sunny burn pile sites with great results. Over the years we have also done some small-scale prescribed burns and seeded Western thistle seeds into the small burn areas along with other wildflower seed, as shown in the photos above. Growing Western thistle on our own land for biodiversity, pollinator habitat and seed increase for seed sales has been a rewarding process that brings us great joy when we see butterfly caterpillars and other pollinators using the plants.
Protecting the viability of native thistle populations in the wild is important to us. Native thistles face many threats, including unwarranted eradication due to the assumption that all thistles are invasive and unwanted. We must protect our wild populations of native thistles and grow more native thistle seed in gardens and seed increase plots to help increase native thistle populations for biodiversity and the benefit of pollinators.
At the time of publishing this blog post we currently have only 18 packets of Western thistle seed remaining in our inventory for this season. We won’t have any more until next summer/fall. We can only collect a small amount of seed each year, so orders are limited to one packet per order so more people can grow these gorgeous plants! This is precious seed — plant wisely.
Cirsium occidentale – Western thistle